Transferring documents from iPad to Google Drive
Synopsis tl;dr
Ensure Google Drive is active in Files. Select and compress the items from your iPad that you want to move and then move the compressed file.
Detailed instructions:
Open the Google Drive app on your iPad and sign in with your edu.runnymede-college.com account (your Google Classroom account) if you haven’t already done so.
Locate and open the Files app on your iPad.
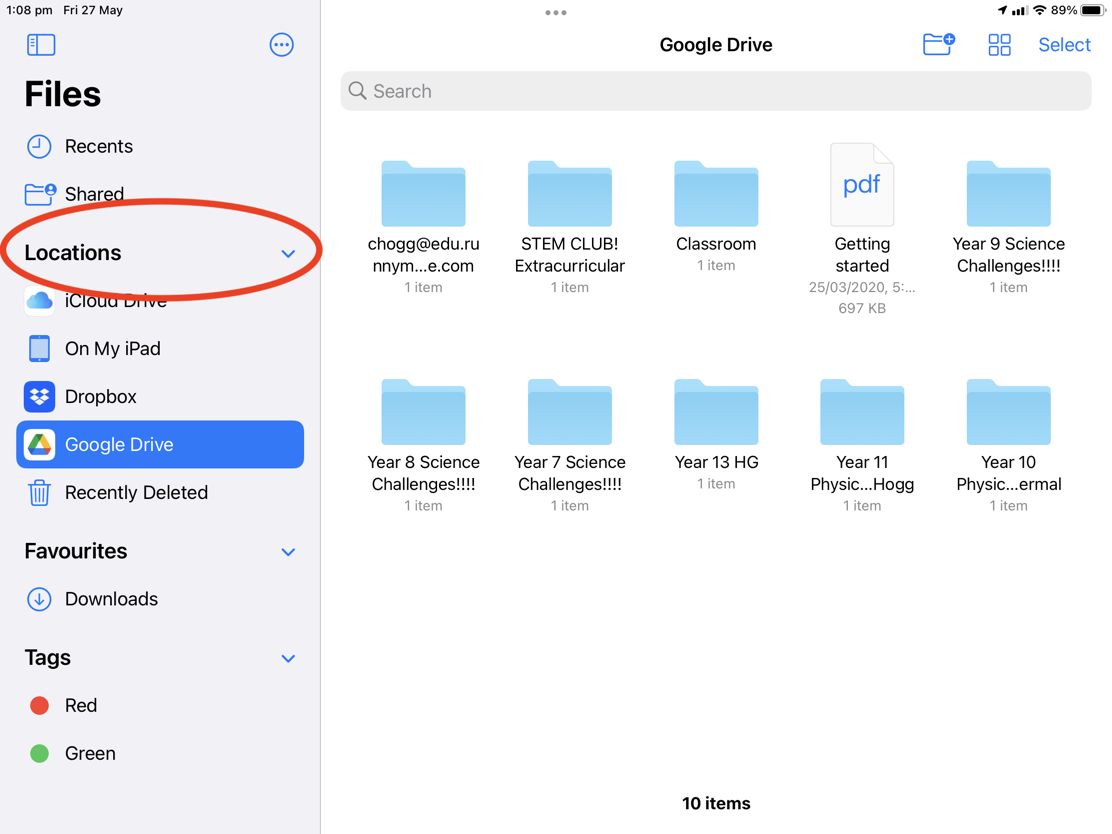
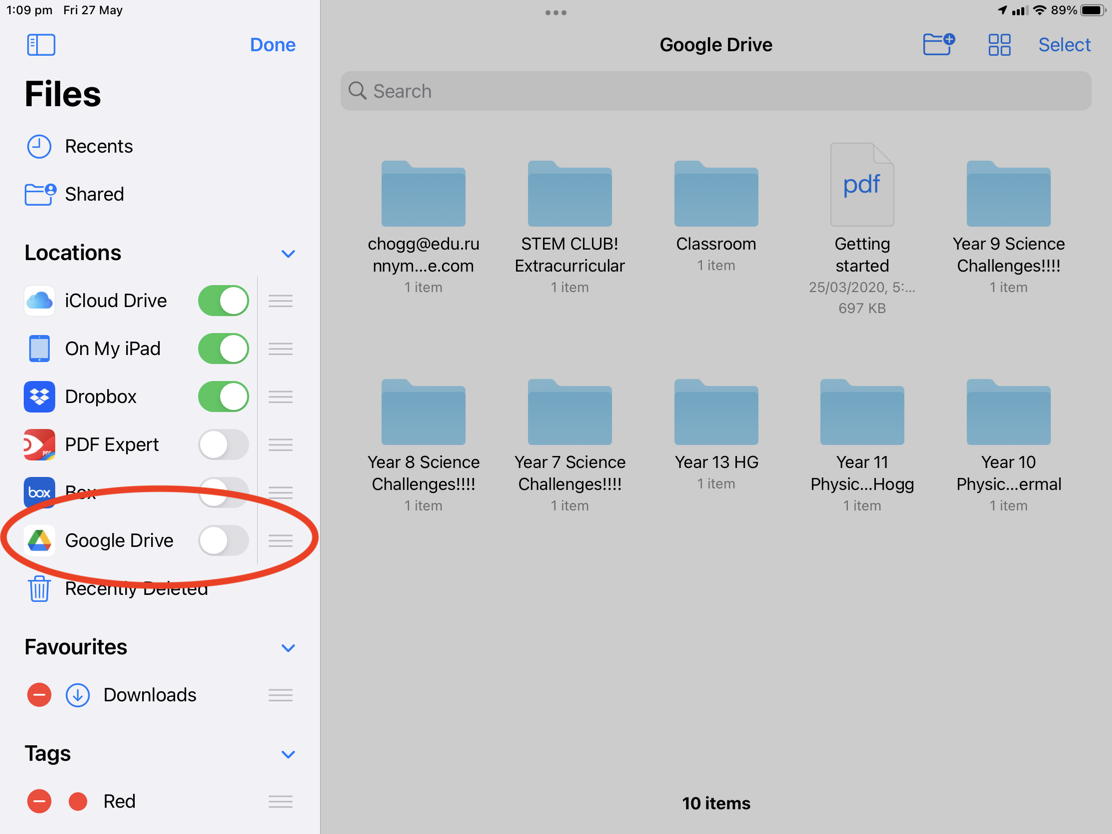
Check the sidebar to see if Google Drive is already installed in Locations (open the list if necessary using the arrowhead).
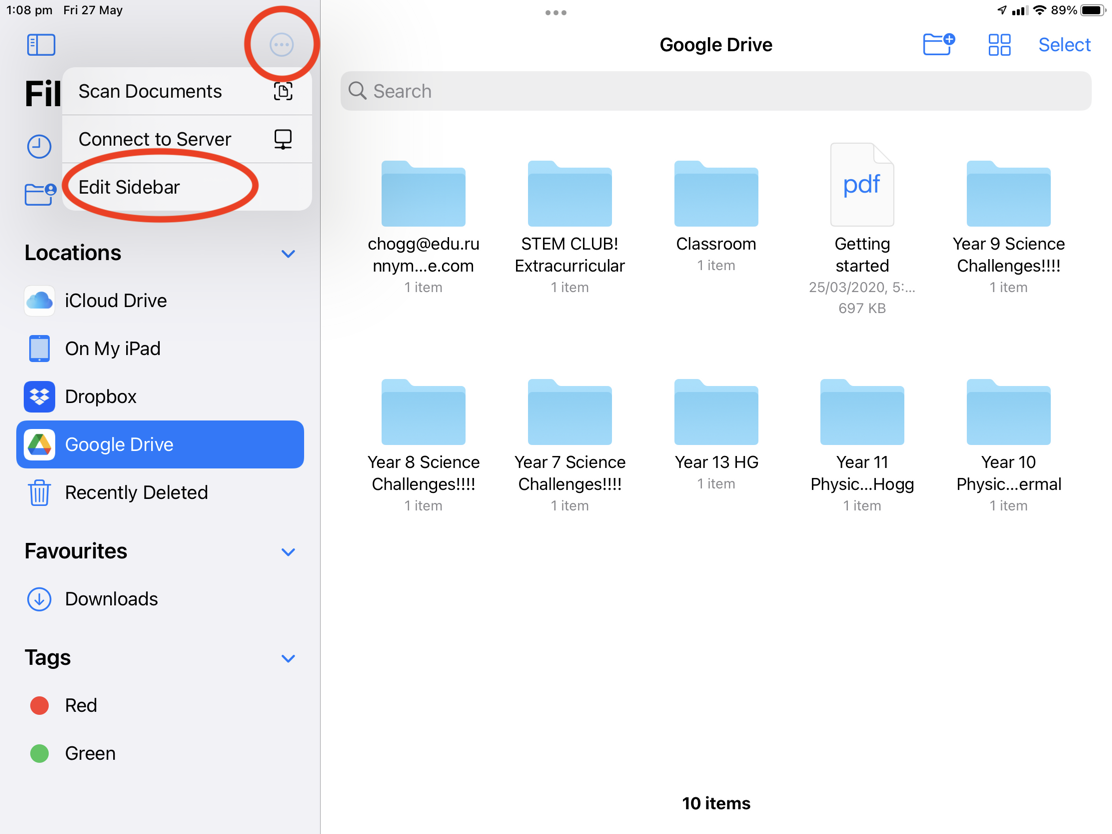
If it’s not there, click on the kebab menu and choose Edit Sidebar.
If it’s already installed, move to the next step.
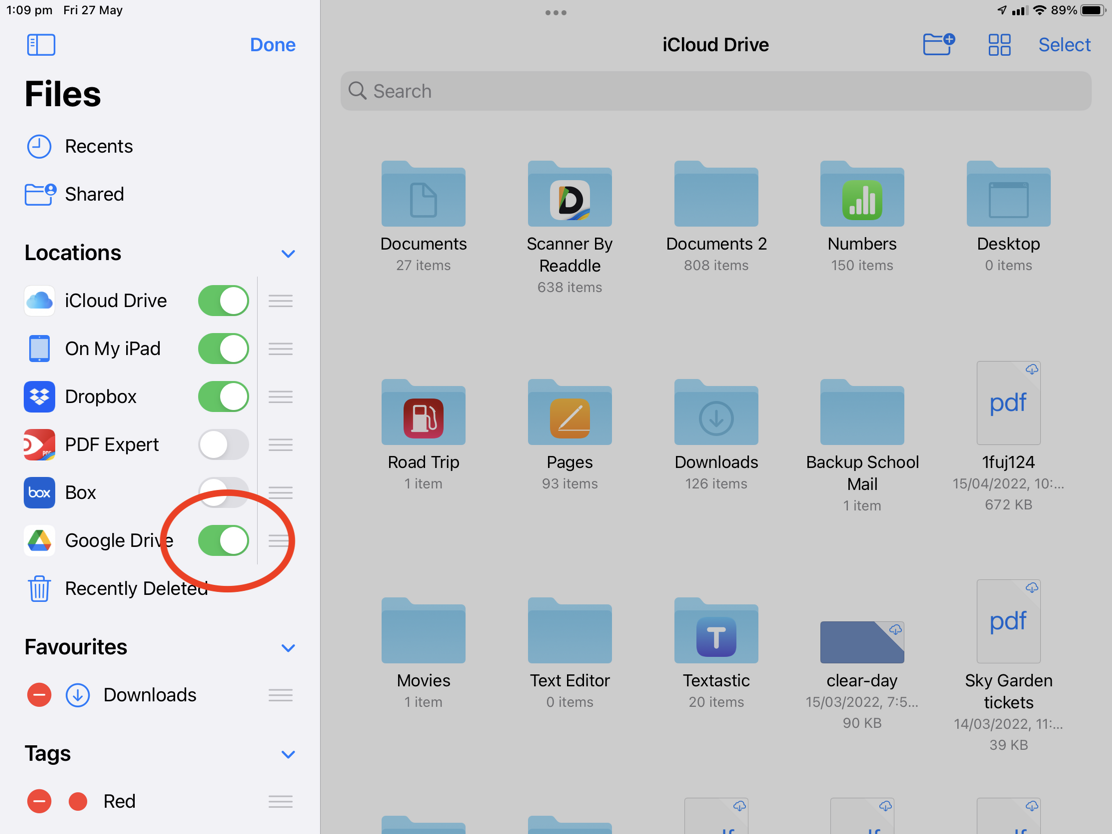
Choose Google Drive and slide the button to enable it.
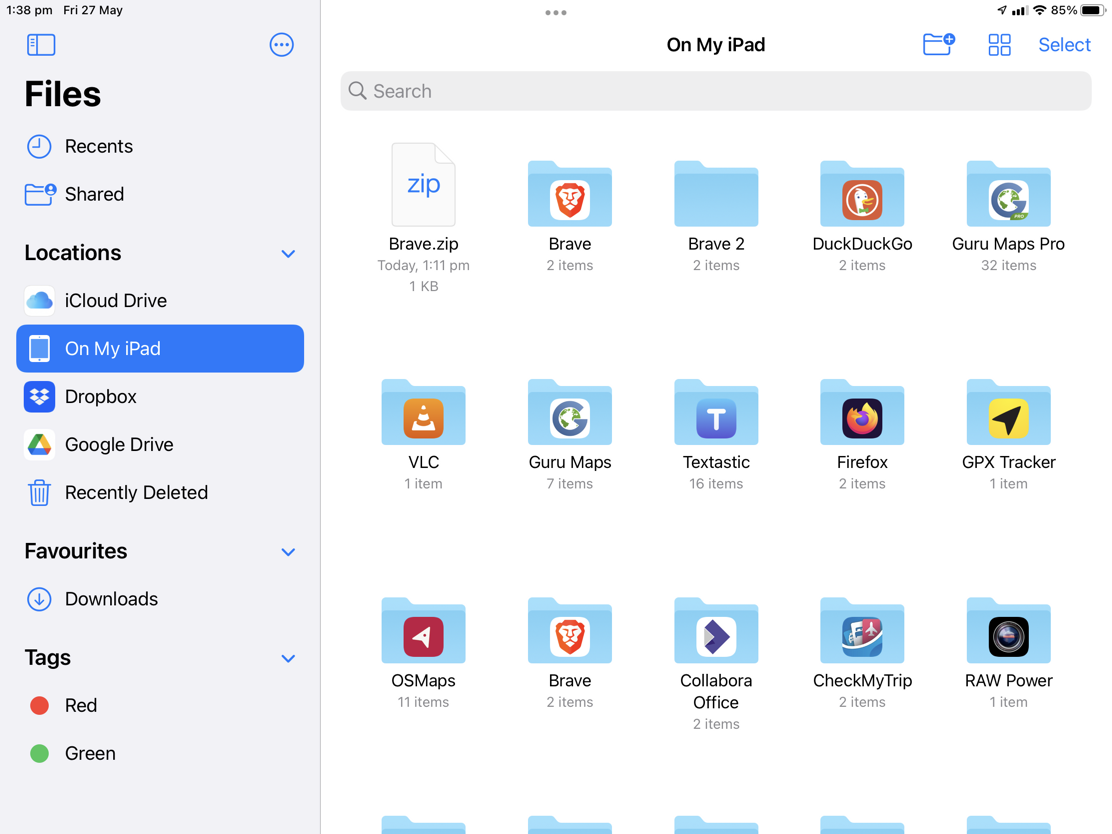
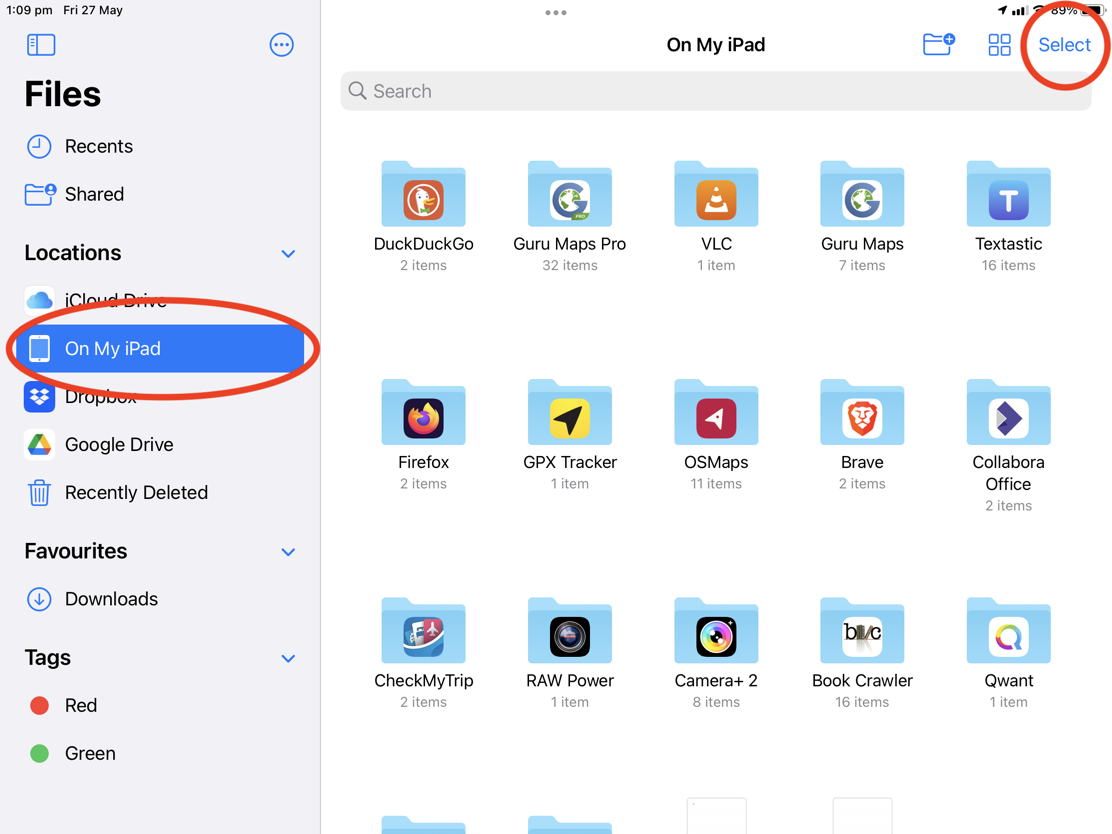
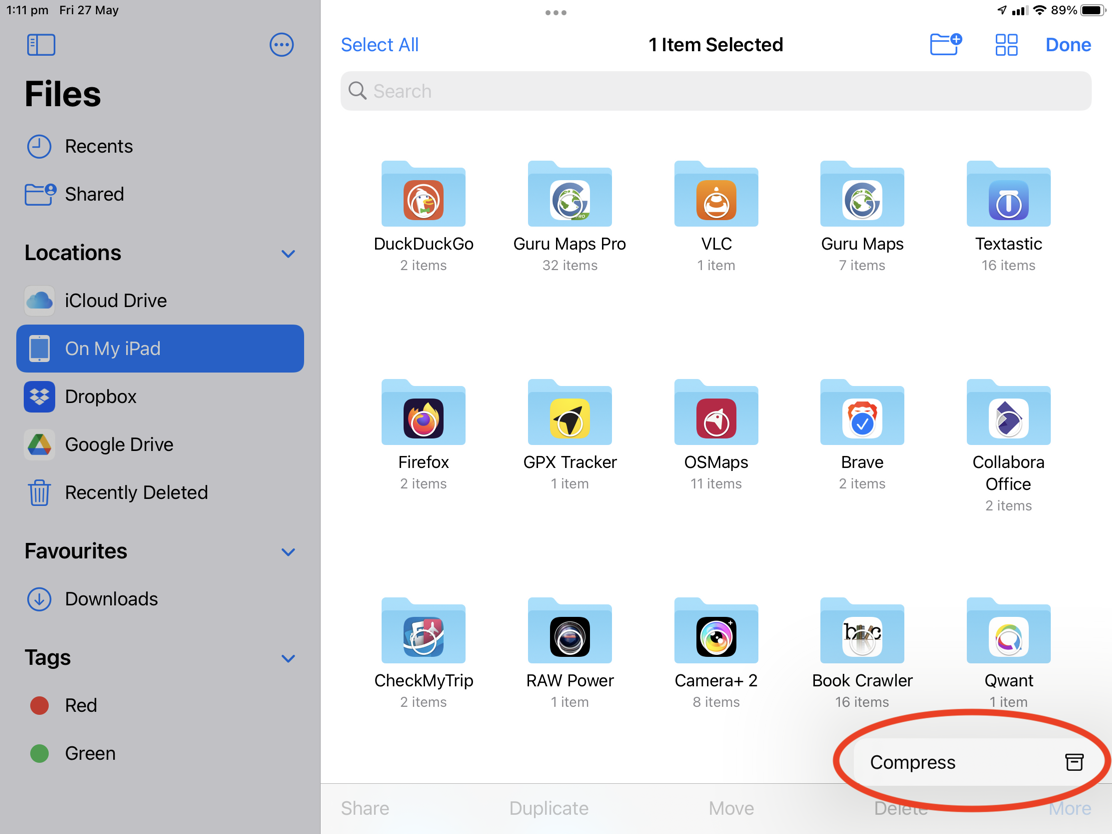
Go to On My iPad and choose Select from the top right corner. Then select the item(s) you want to move to Google Drive. A tick will indicate the item(s) you have selected.
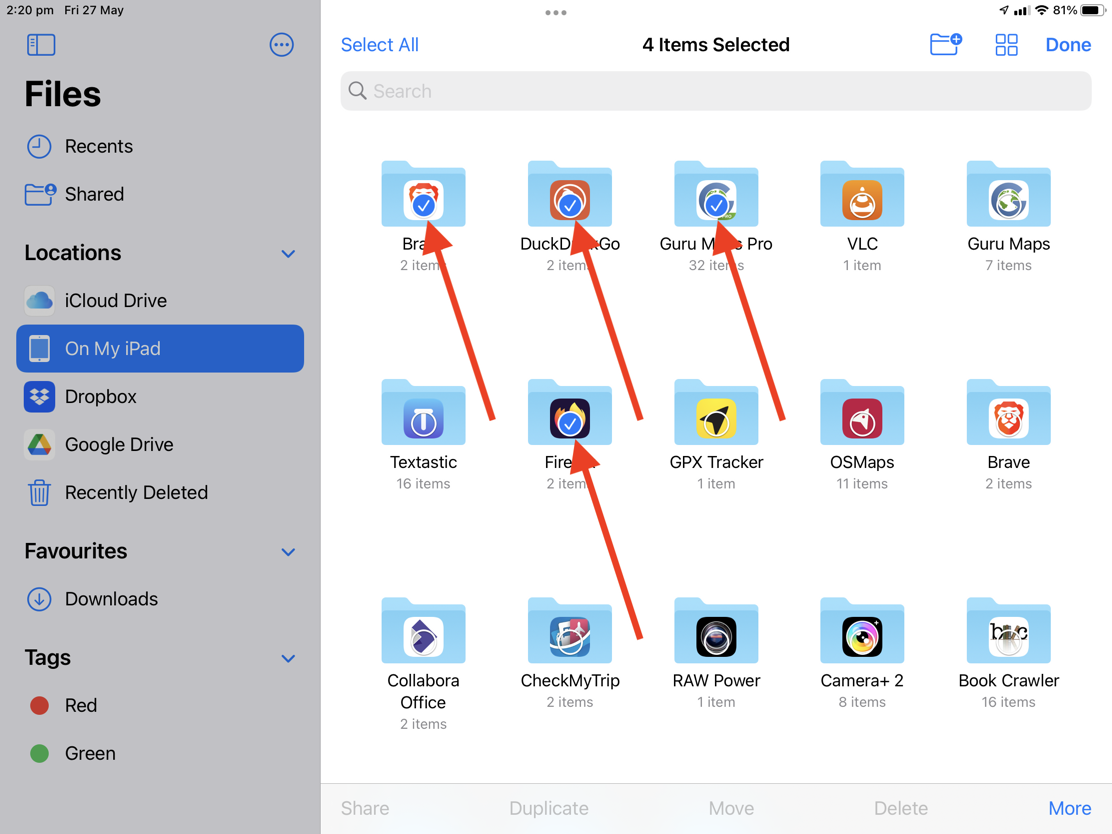
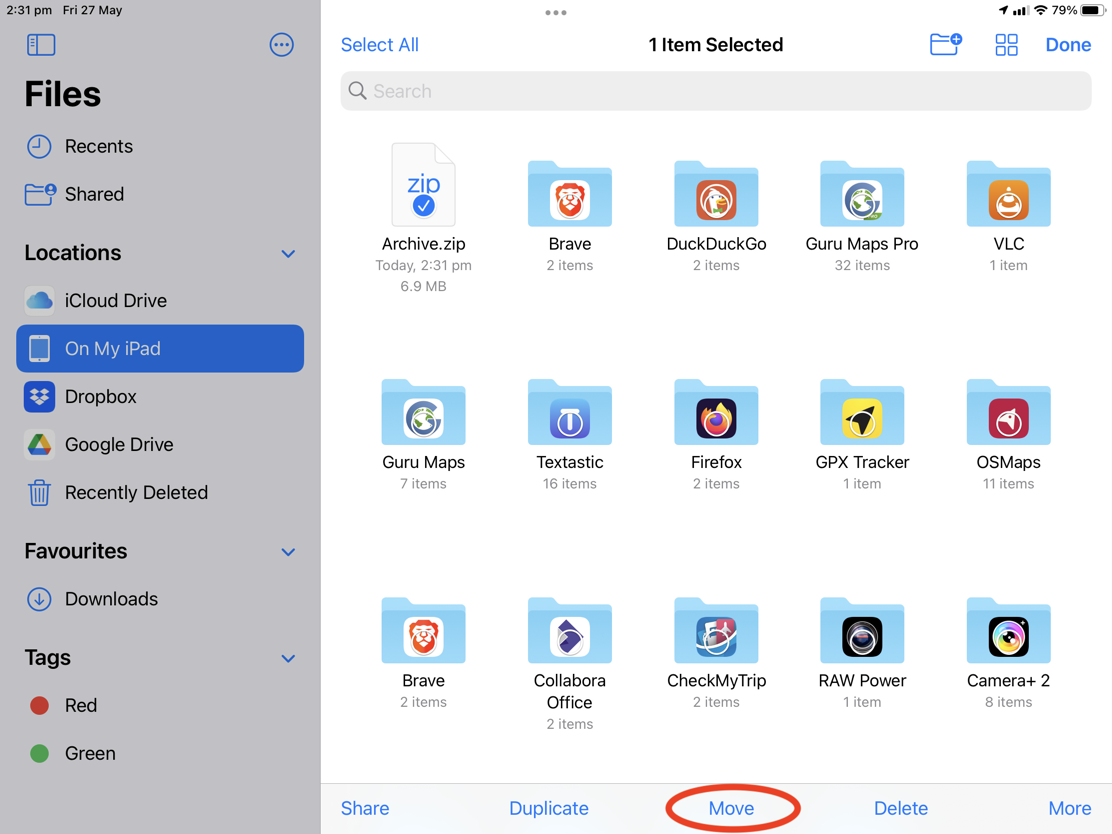
Choose Compress from the More button at the bottom right of screen. A new file will appear with the name ‘Archive.zip’ (if only one file were compressed the new archive would retain the original name and add .zip).
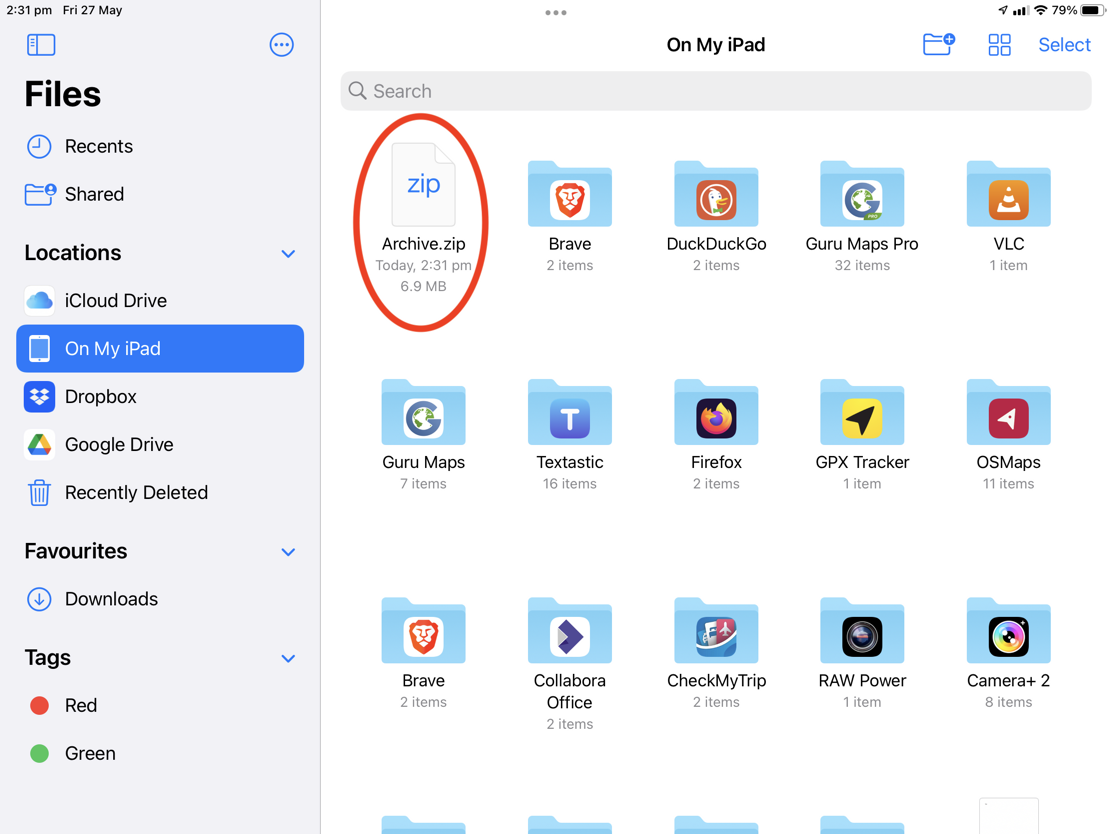
Select the compressed file and click on the Move button at the bottom of screen. Choose Google Drive as the location.